How to Inefficiently Convert Five Wooden Pallets into Sweat, Splinters, and Two Tables
I started with what seemed to be a simple idea: Take a few old pallets I had, break them down, and use the wood to build a couple of tables. While the results were pretty much as I envisioned, the road to getting there was not as simple as I had hoped.
THE FINISHED PRODUCTS
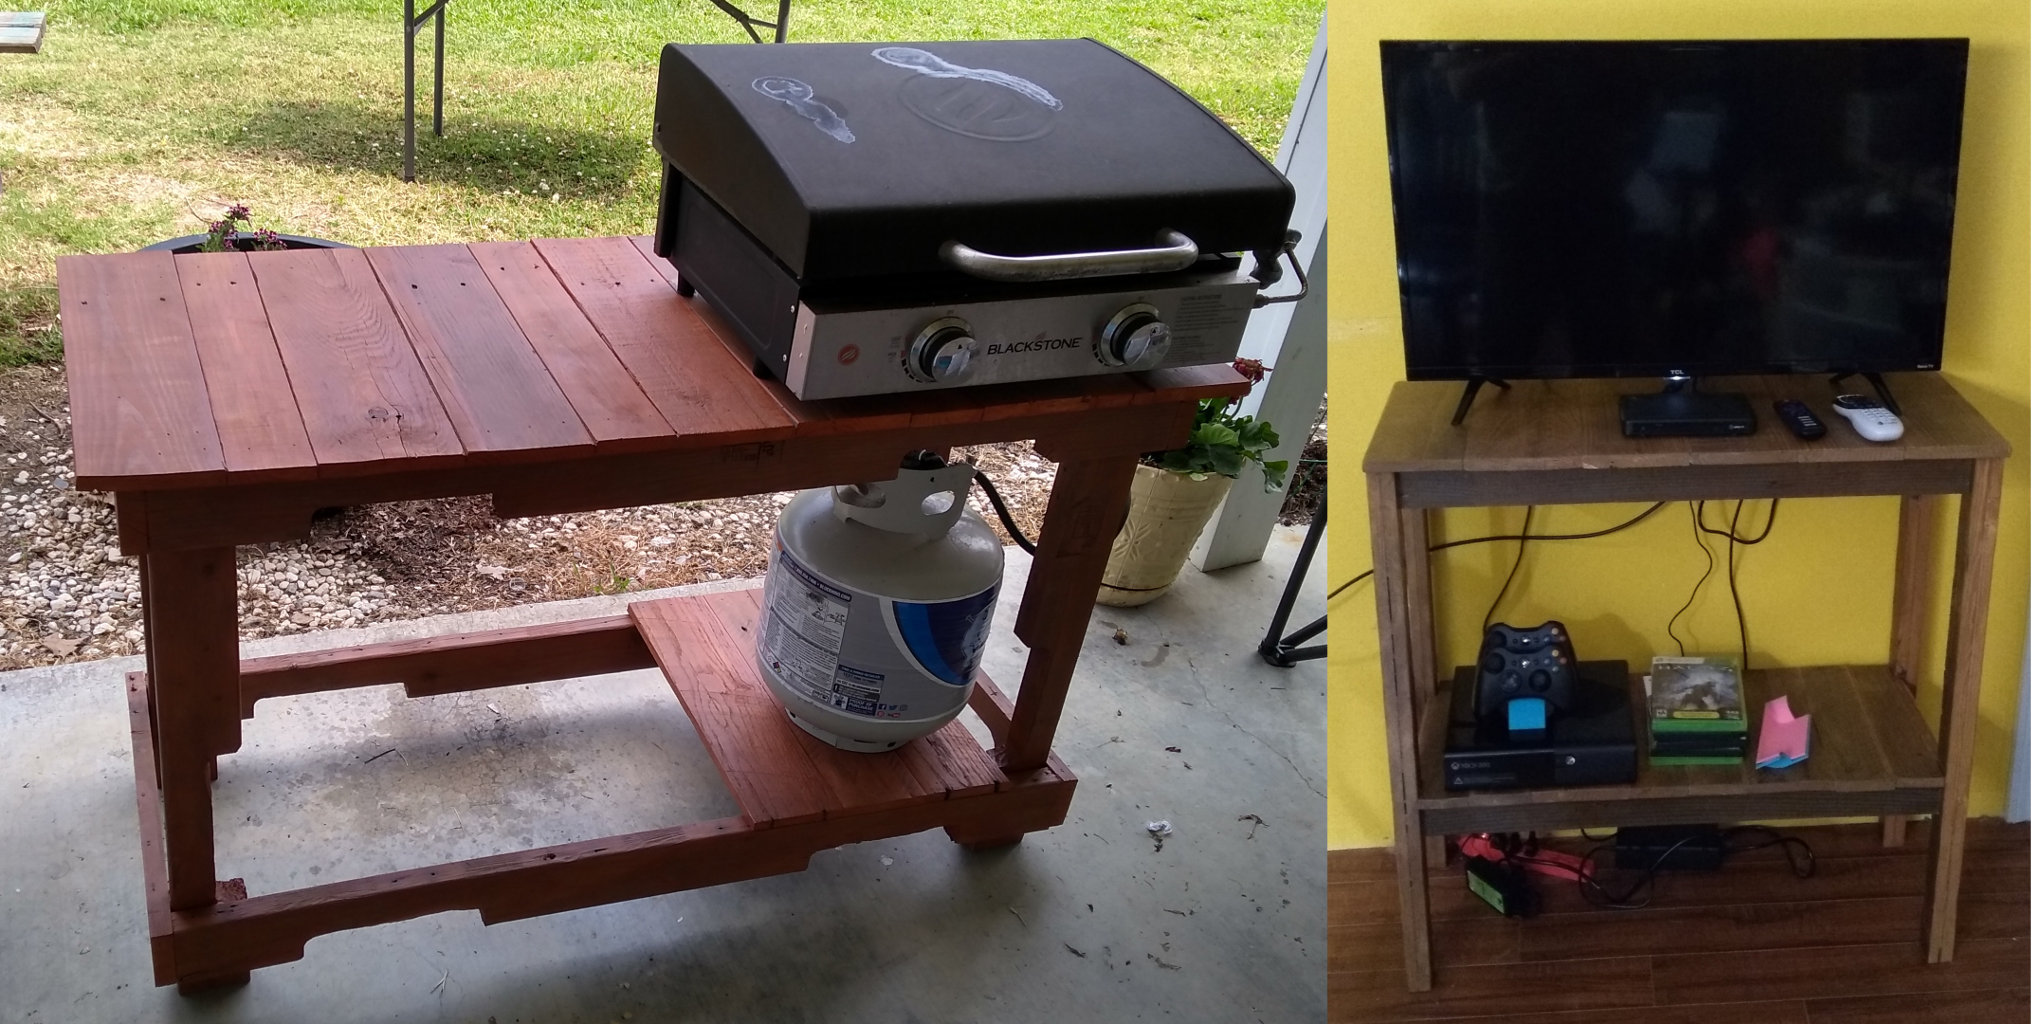
I find it is preferred to show what the finished product looks like before diving into how it was made. In this case, two tables were built: an outdoor table and an indoor table. Here they are in their final locations.
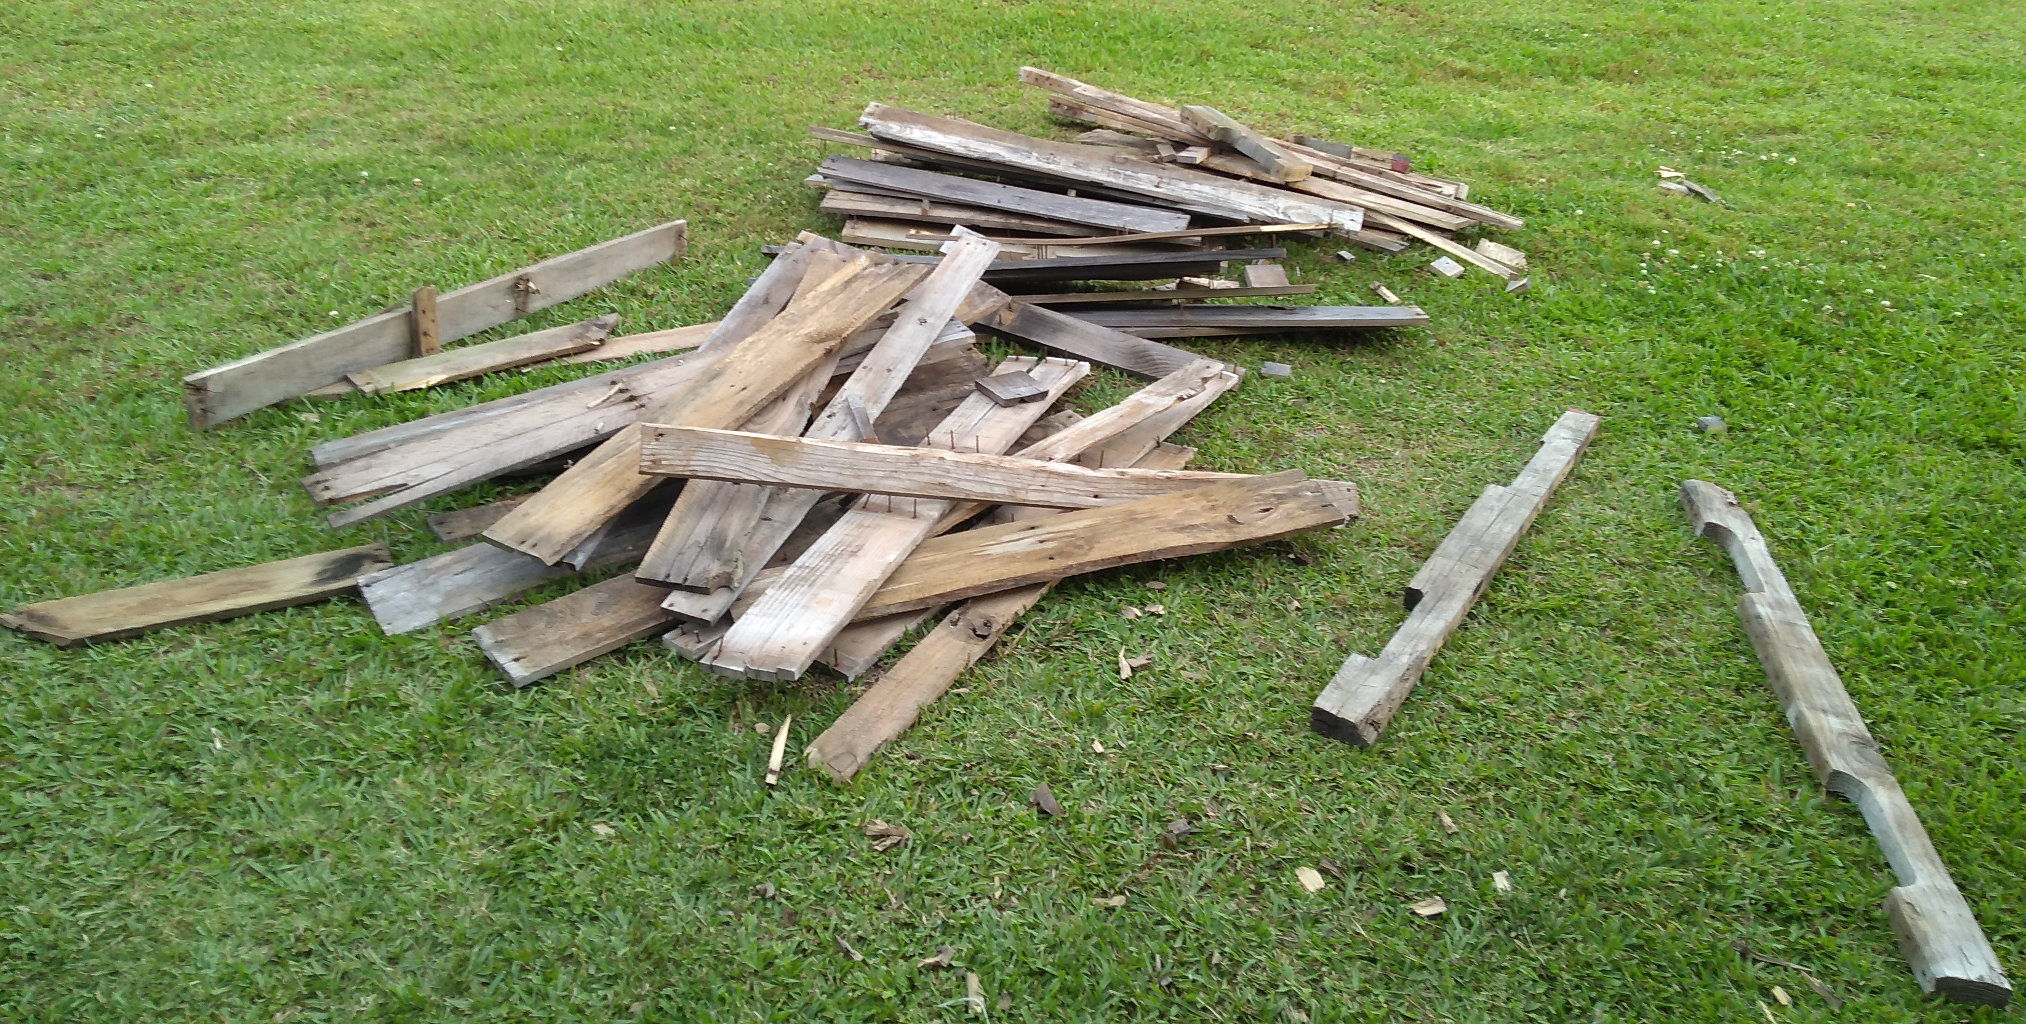
PALLET BREAKDOWN
I used the Duckbill Deck Wrecker to break five pallets apart. It works quite well, provided your pallets are in good condition, and have nails that are willing to release. If your pallet is in poor shape, the Deck Wrecker will help you break the boards apart until the pallet finally comes apart in pieces.

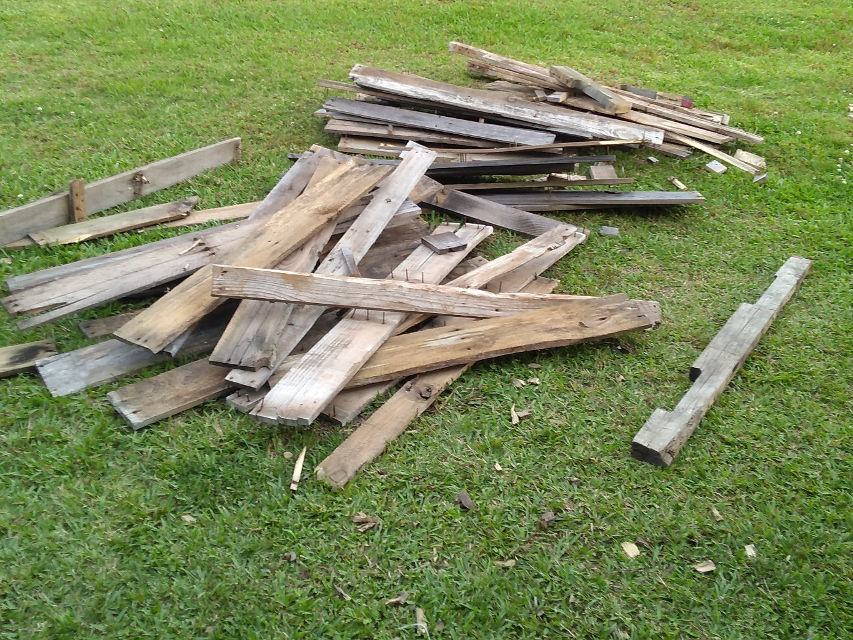
The pallets I had were basically the Charlie Brown Christmas Trees of pallets. Most of them had damaged or missing boards. The weathered aspect of the boards, however, is what made them interesting to use for building.
The most frustrating part of dealing with these particular pallets was removing nails. Most of the time, it simply was not possible. The nails refused to come out of the 2x4 parts of the pallets. The heads of the nails would break off before the nail would come loose in most cases.
So I tried to hammer them all the way into the 2x4. That also failed, as the nails used do not have a point. They have a flat tip, and resist being hammered in. I assume these are nailed into the pallets using some kind of high-power pneumatic nail gun or something. I am sure that the pallet company that made them intended for the nails to hold the pallets together. To that I say, “Well done, Mr. Nail. Well done, indeed.”
Since I was unable to hammer the nails back into the 2x4s, I opted for secret option number two: Dremel tool with cutting wheel. I used this to cut the nails as close to the wood as possible, and then used the hammer to make them as flush as possible.
I made sure to mark nails using a Sharpie marker. Leaving the nails in the 2x4s was not a major concern since I was planning on cutting between the nails to make them into table legs and rails. It seemed like it was possible after examining the boards that the nails were spaced in a way that I would not hit them with my mitre saw. Otherwise, I hear a saw is the best nail finder there is.
And just when you thought you were done with nails, a couple of these pallets had clearly been used in previously used in older pallets. They had nails that were driven completely into the wood, but were not used to hold the current pallet boards together. Not sure how common practice this is. But something else to be aware of if you insist on removing all nails.
THE OUTDOOR TABLE
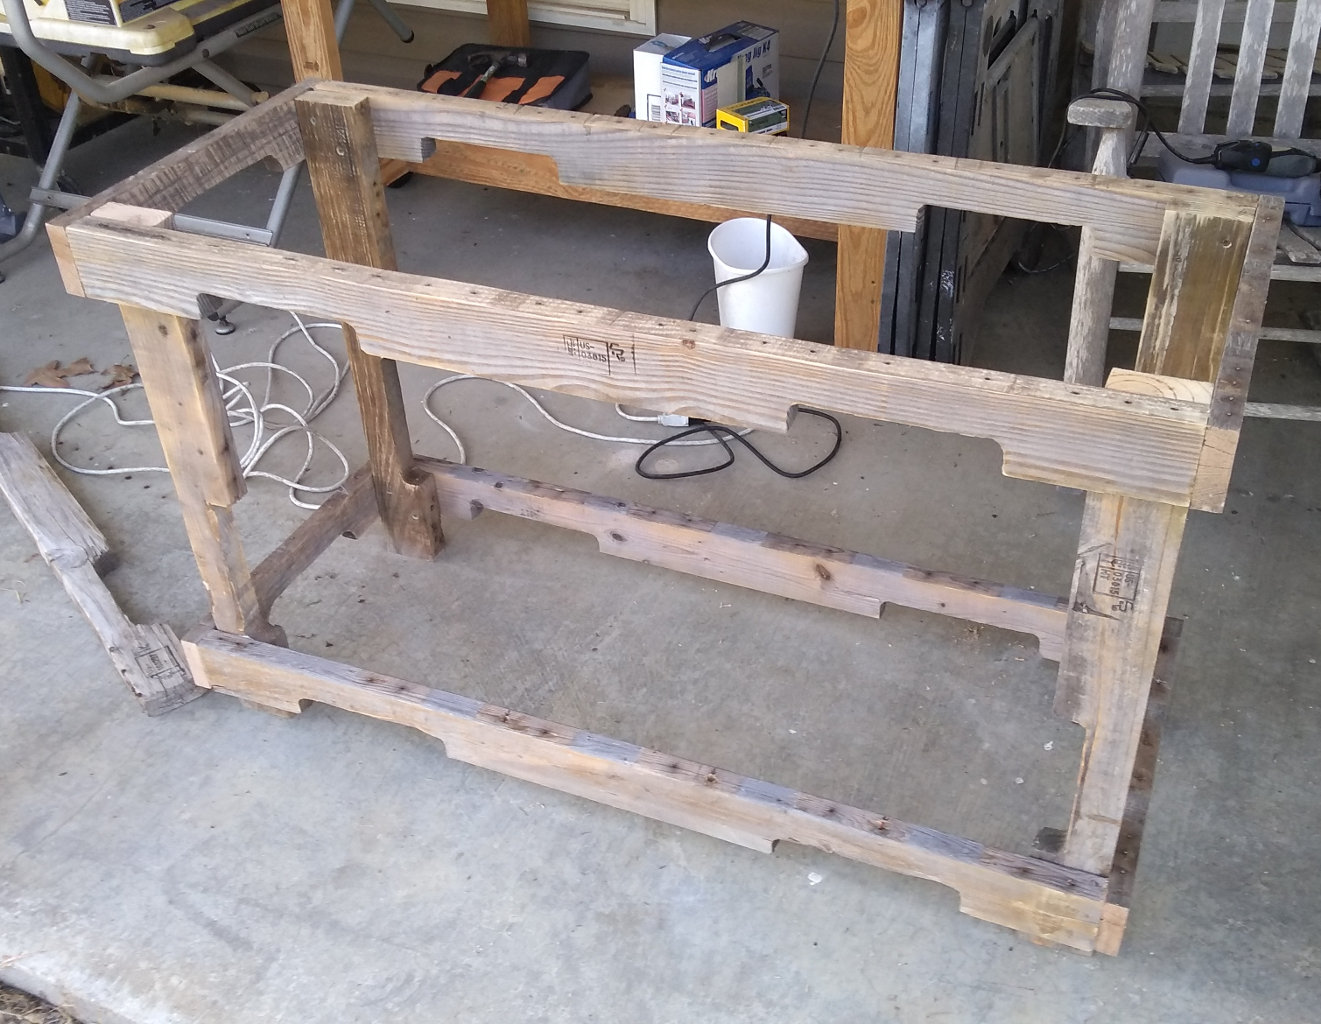
The first thing I wanted to build was an outdoor table to set our 22in Blackstone Griddle on. It needed to have at least a shelf on the bottom to hold the propane tank. I figured I could at least get enough wood from a few pallets to make this on table.
I wanted it to be strong, since the griddle and the propane table are not light. It also sits on our covered back porch, but is exposed to some level of rain blowing in. If possible, I wanted it to at least be somewhat symmetrical-looking. This required trying to find boards that mostly matched up for the legs and frame.
The only real problem with leaving the nails in the legs was that they prevented me from sanding the boards. Since this was an outdoor table, I did not worry any more about it.
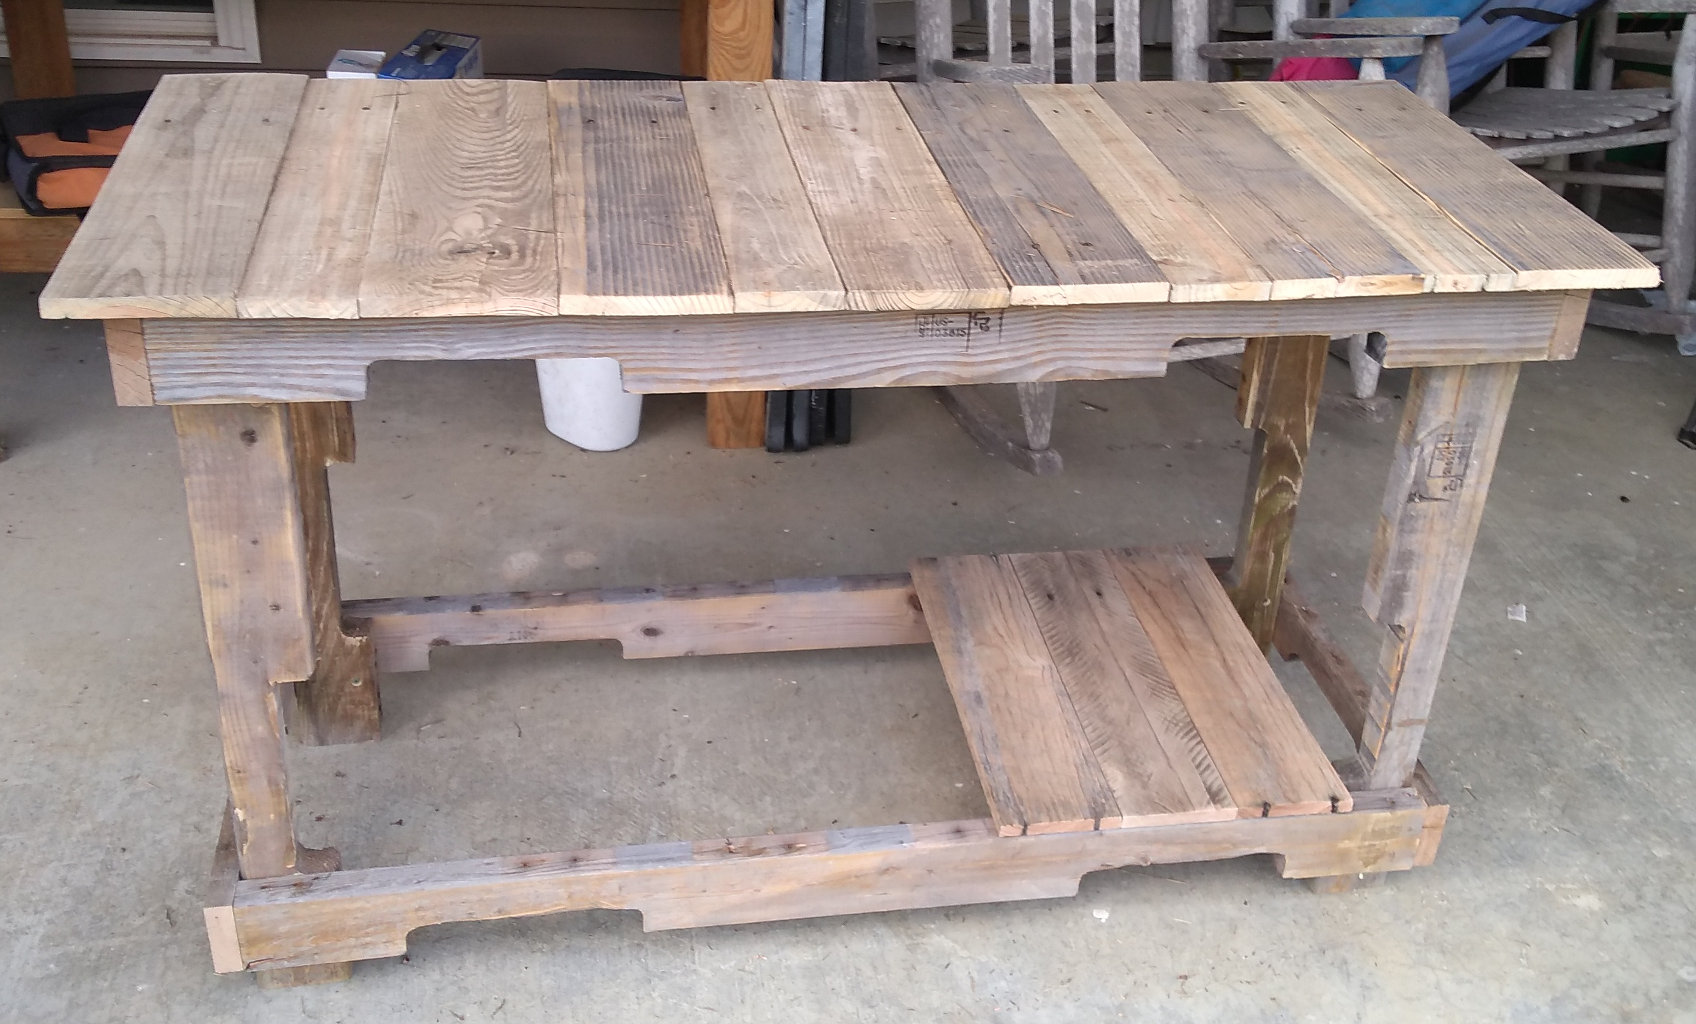
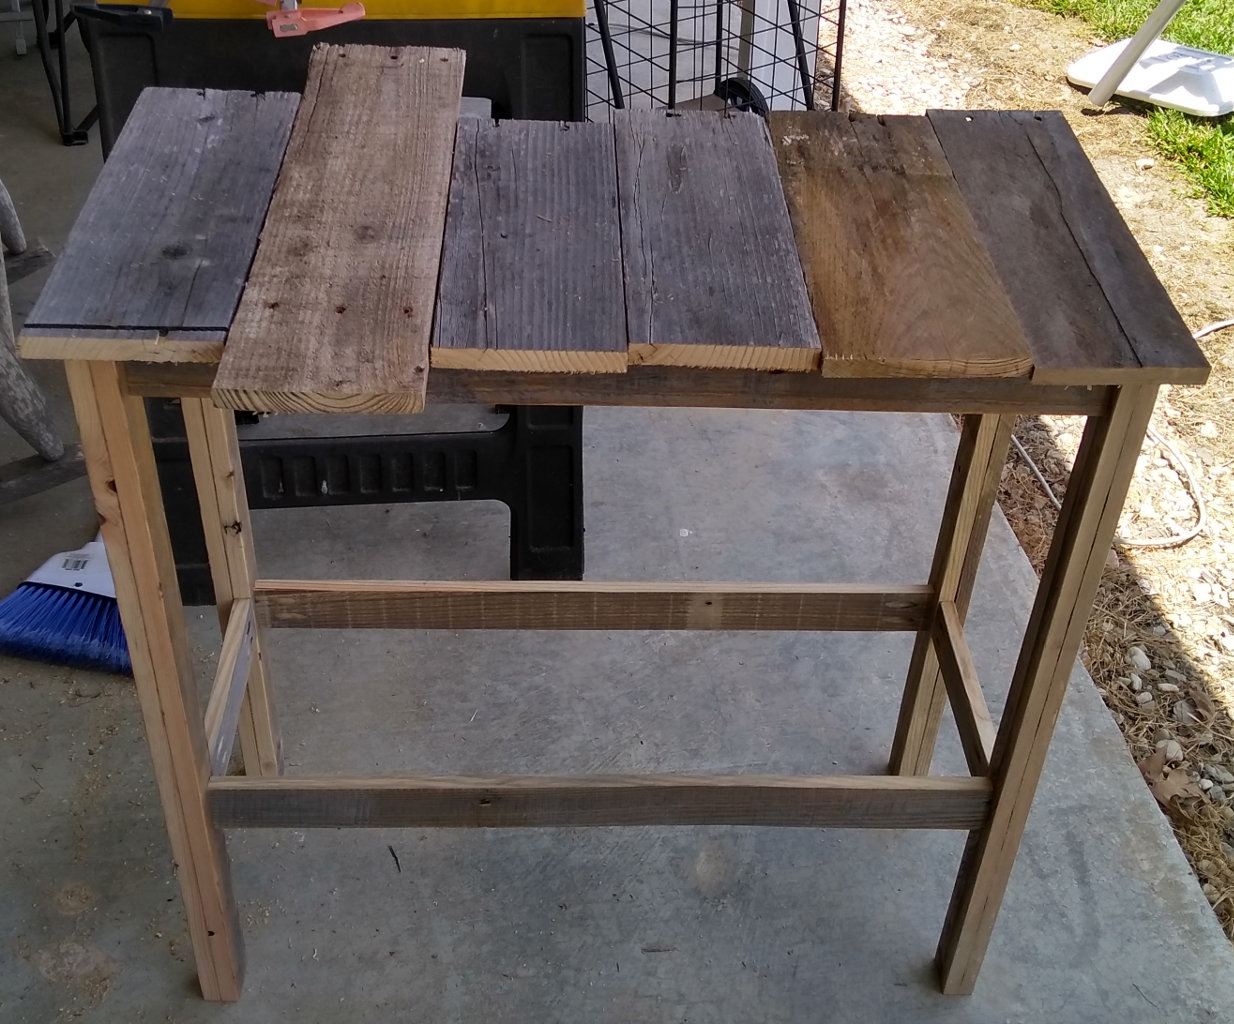
The table top and shelf were pretty straightforward. I only needed to find boards that were in good enough shape and lay them out together. After sanding them, I used wood glue and brad nails to attach them to the frame. Not sure how the brads will hold up to the weather, but shouldn’t be too difficult to screw them down, if that’s what it takes.

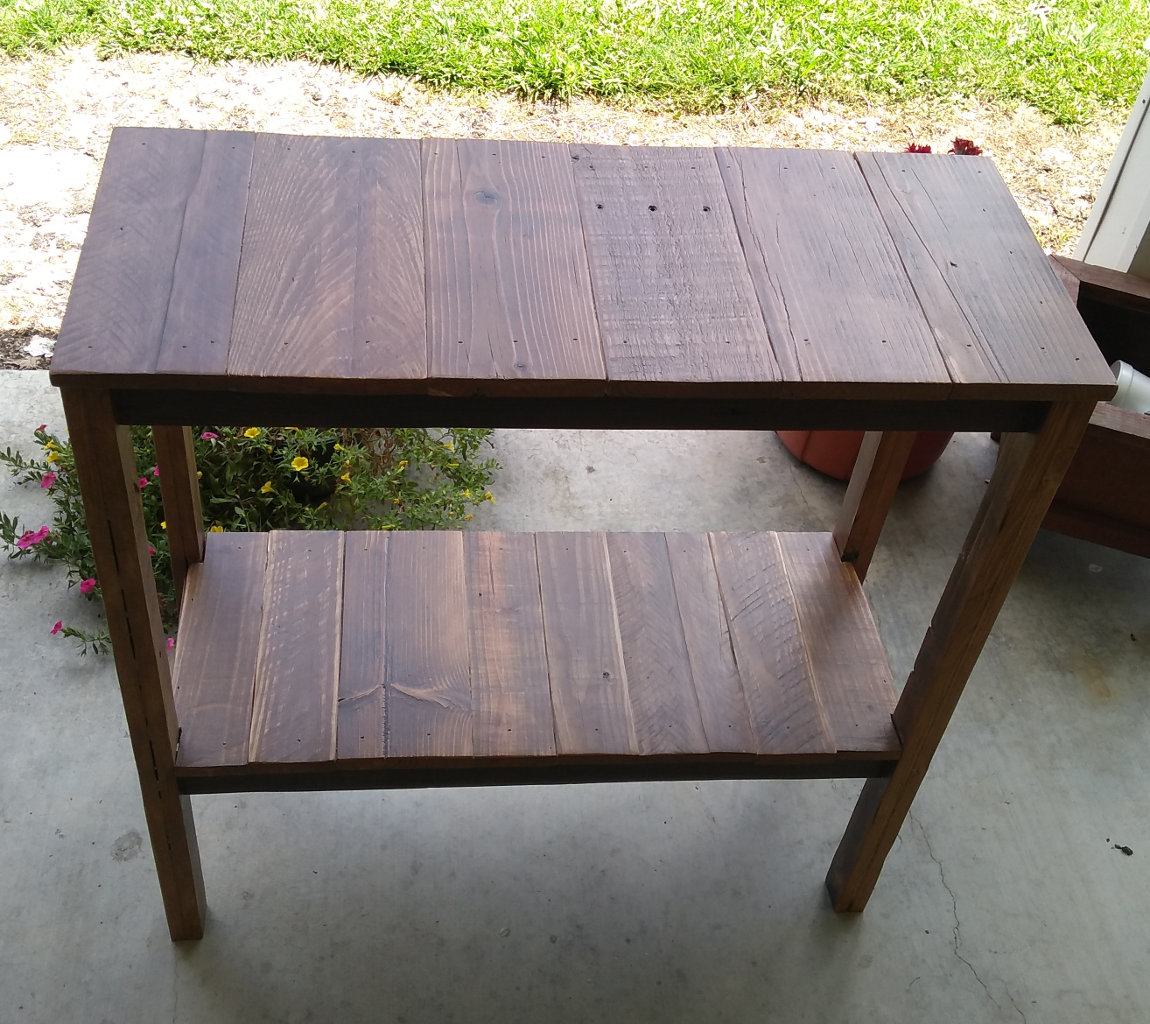
I had some cedar color stained waterseal that I coated the entire table with. With the wood being so rough and un-sanded, it was difficult to get everything coated well. The cedar color really unifies the table. I like it.
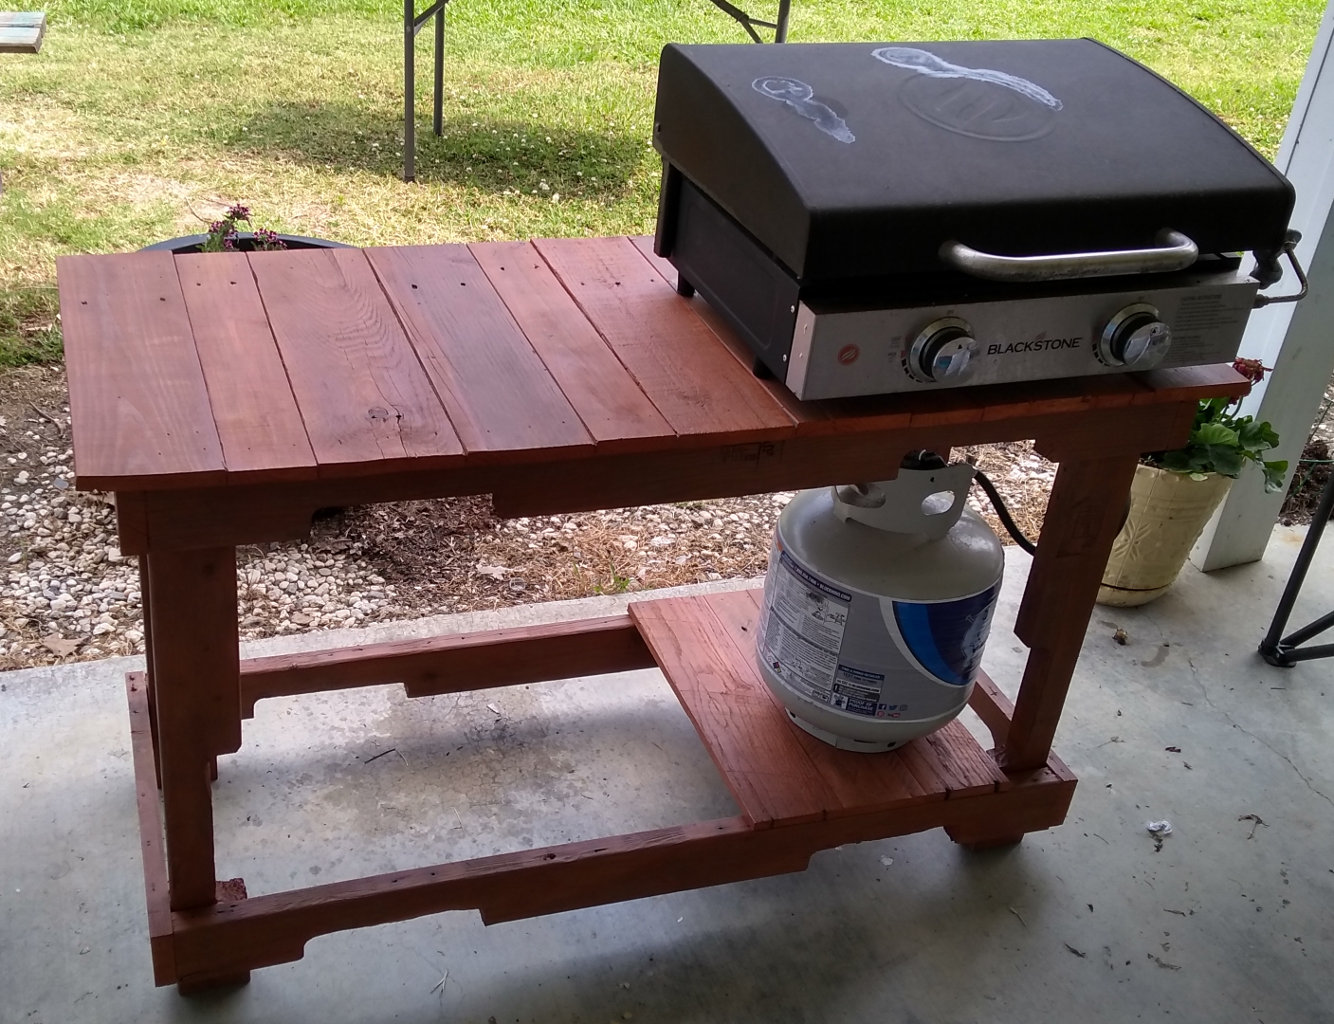
Finally, here it is with the propane tank and griddle in place.
THE INDOOR TABLE
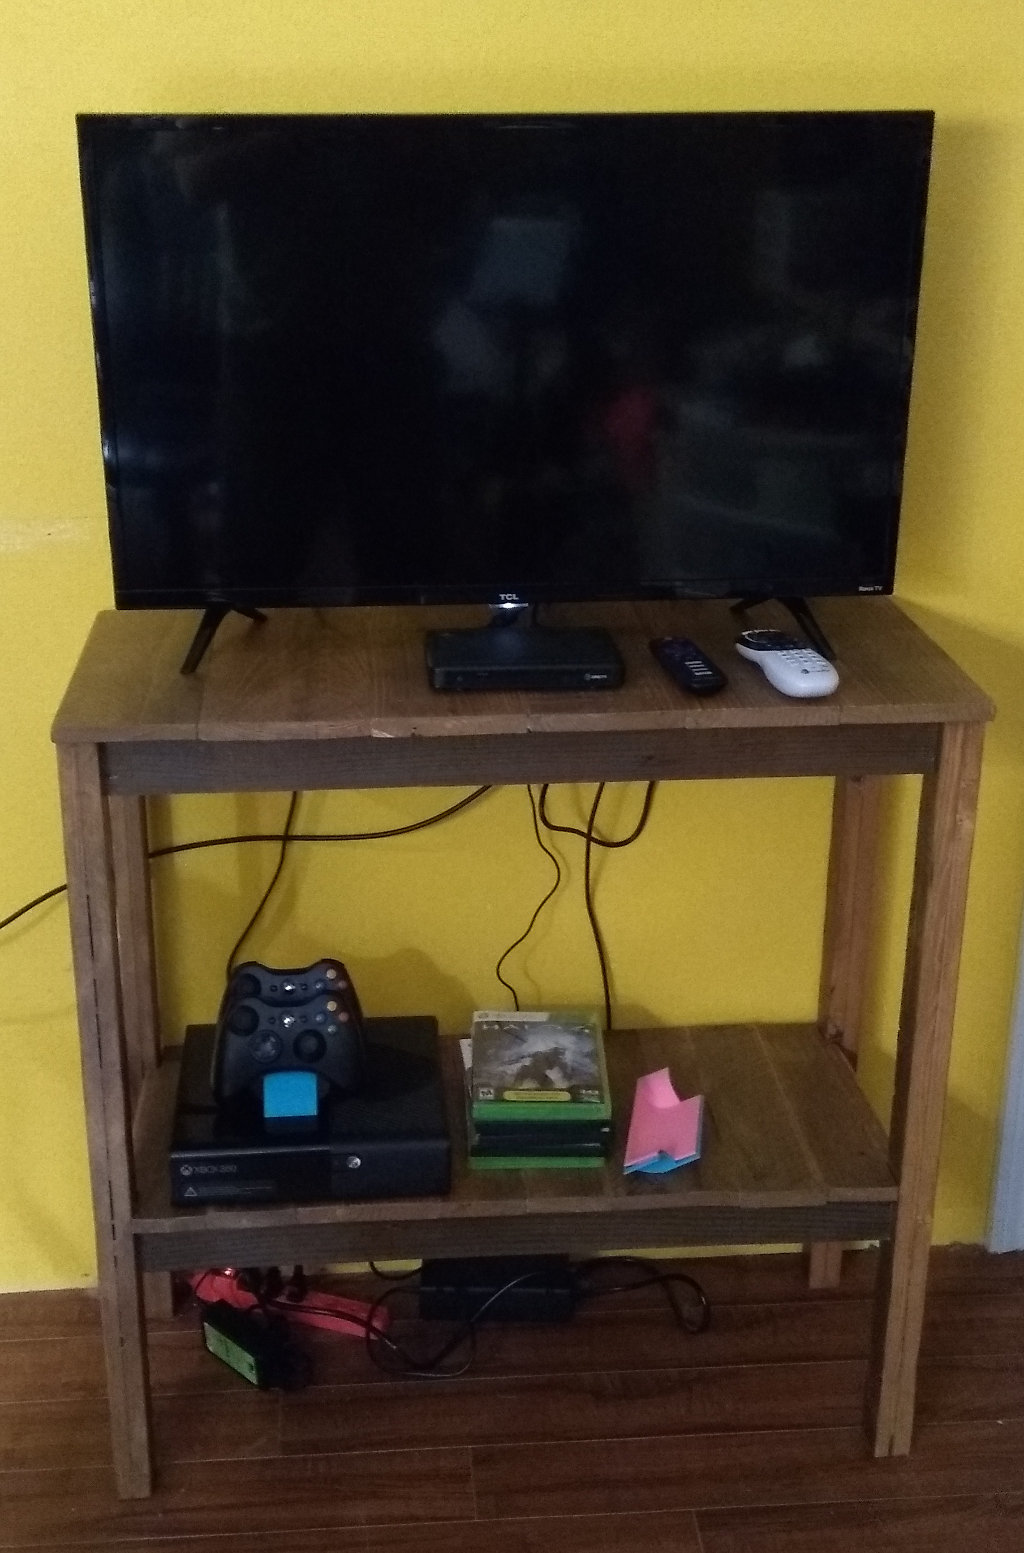
I had enough boards left over, that I figured I could make a small indoor table/stand to hold a 32in TV and XBox360. This would not have to support nearly the kind of weight the outdoor table did. Which was fortunate, since I did not have any more 2x4s to use for legs and frame.
I was able to rip several boards into about 2in wide strips and glue them together to create legs that were about 1 1⁄2 inch square. Amazingly, any boards that were bowed when glued in that fashion straightened right up. They worked out great. I also took the glued legs to my table saw and ripped them to a consistent width. Then cut them to length on the mitre saw.
After completing the frame, I found boards to create the table top and shelf. After cutting them to size, I started sanding. I wanted to get a fairly smooth surface on them. I could have sanded a lot more to try and get them really smooth, but I decided I wanted it a little more natural feeling.
I then edge-glued the boards for the table top into groups of three. This made it easier to line up the two sections for the top. I glued and used brads to nail the top down.
I did something similar for the bottom shelf, but used a jig saw to notch out the ends so they fit between the legs a little.
Note on splinters: Be prepared for splinters. SO….MANY….SPLINTERS! There were plenty of splinters that you notice as soon as your hand grabs the board a certain way. But there were many I found the next day stuck superficially in my hand. They were probably about 1mm long at the very surface of the skin. A stick pin and tweezers removed them quickly. I consider myself very careful with tools and splinters. And I still ended up with lots of splinters. Just be aware.

I found some stain I had from some other project and used that to cover the table.

I then put two coats of poly on it sanding with 500 grit sand paper. I couldn’t find any 400 grit. It definitely helped smooth out the finish.
Here is the table serving its purpose. Looks pretty nice.
THE LEFTOVERS
The rest of the wood was either rotting, full of nails, or split in such a way that made using it not worth the trouble. Those were gathered and disposed of.
LESSONS LEARNED
- Pallets are free wood
- Free pallets are not worth what you pay for them
- Pallets are loving, and show it with splinters
- Pallet nails are magical….magically EVIL
- Cost to make this table for someone if they bring pallets disassembled: $100
- Cost to make this table for someone if they bring pallets intact: $6000